Name Ranges in Excel are a useful feature that allows you to assign a name to a cell, range of cells, or constant value. This makes it easier to refer to these items in formulas, charts, and other parts of your workbook. In this tutorial, we will show you how to create and use name ranges in Excel.
Creating a named range in excel can be extremely useful as they can be absolute references, constants, dynamic and contain formulas. They allow for easy use within formulas, increase readability and simplify selection of data which is also transferable into any VB code or even Power Query.
When a workbook has named ranges it can be easy to understand what formulas are doing and what the data is for someone who didn’t create the workbook.
Depending on the application and the data, one of the simplest ways to reference cells and ranges is to create a table. This allows for quick referencing according to the table name and its headers.
Creating a Table
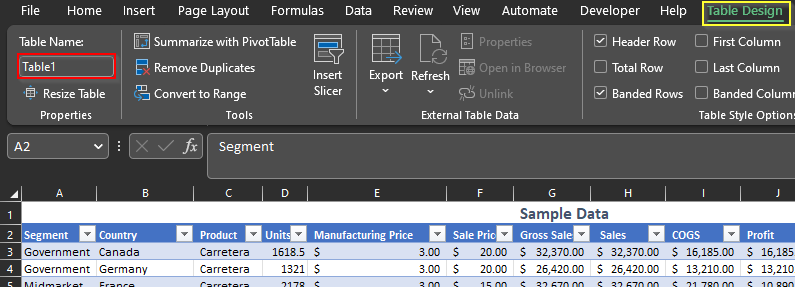
When selecting a range and creating it into a table Ctrl + T Excel will automatically make this a named range called Table1 increment it accordingly as named ranges must be called something unique. Otherwise it can also be used for cell references there are a few ways to create a named range in Excel.
Table Name Range Example
After creating a table and within any cell in the table, selecting the Table Design tab will show the Table Name: Table1, this is a named range you can reference.
Creating a Name Range
There are a few different ways to create a Name Range in Excel:
Method 1: Using the Name Box
- Select the cell or range of cells that you want to name.
- In the “Name Box” (located above the worksheet), type the name you want to use for the range.
- Press Enter.
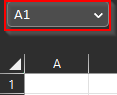
Here we are in cell A1 and in the Name Box it has the cell reference, by typing into this box and hitting Enter it will create a Named Range for that cell reference.
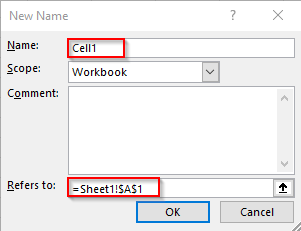
Method 2: Using the Define Name Button
- Select the cell or range of cells that you want to name.
- Click the “Formulas” tab on the ribbon.
- Click the “Define Name” button in the “Defined Names” group.

- In the “New Name” dialog box, type the name you want to use for the range.
- Click “OK”.
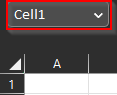
Here we are defining the same cell reference with the name Cell1
Method 3: Creating from Selection
This is similar method to creating a table, but again selecting the best method for the application will vary with the data and format.
In this example the Names will be the headers and will refer to the column range below each of the headers.
- Select the cell range including the headers
- Click the “Formulas” tab on the ribbon.
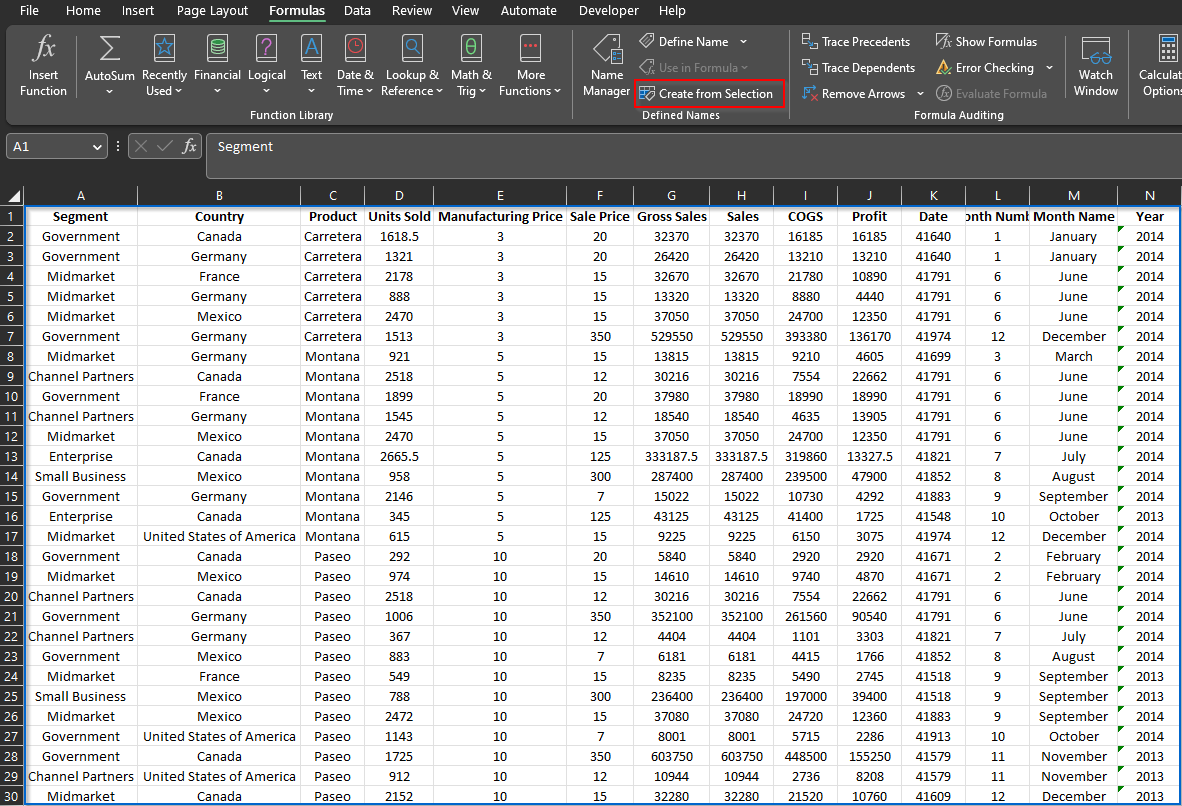
- Click the “Create from Selection” button in the “Defined Names” group.
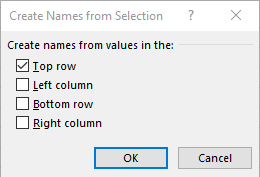
- Tick “Top Row” and click “OK”.
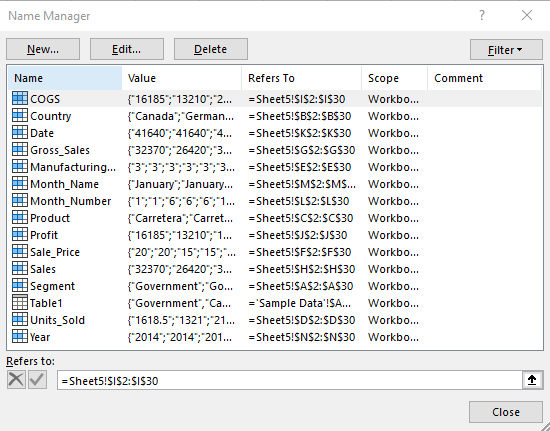
- Click the “Name Manger” to see the created named ranges from the selection.
Using a Name Range in Formulas
Once you have created a Name Range, you can use it in formulas instead of referencing the cell or range directly.
=SUM(Sales)
This formula will add up all the values in the “Sales” range.
Using a Name Range in Charts
You can also use Name Ranges in charts to make them easier to read and maintain.
To use a Name Range in a chart:
- Create your chart as usual.
- Select the data series that you want to use the Name Range for.
- In the “Series” or “Category Axis Labels” field, type the name of your Name Range (include the sheet reference
=Sheet1!Name) into the values field. - Press “OK” to update the chart.
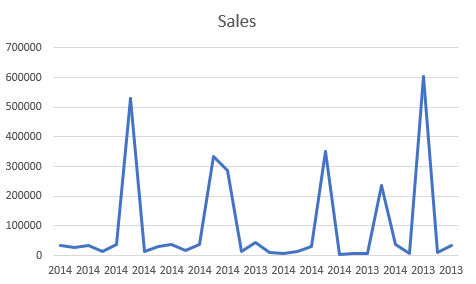
For example, using the sample data to create a line chart with the Series:Sales and Category:Year using the Named Ranges:
- Create a blank 2-D Line chart.
- Select the chart select and in the “Chart Design” tab click “Select Data”.
- Add a new series by clicking “Add”.
- Type “Sales” into the series name for reference.
- In the series values add the named range with
=Sheet1!Sales, then Click “OK”. - Click “Edit” to change the category, update with the named range with
=Sheet1!Year, then Click “OK”.